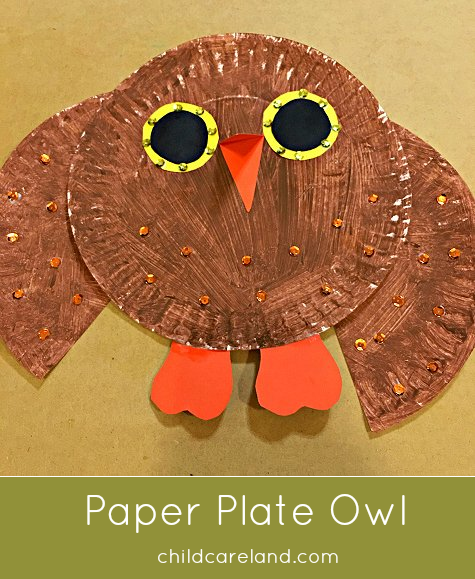
We made paper plate owls this week to go along with our owl theme. We took two days to complete the project but it can be done in one day if you paint the paper plates earlier in the day giving them enough time to dry so that you can work on them later in the afternoon.
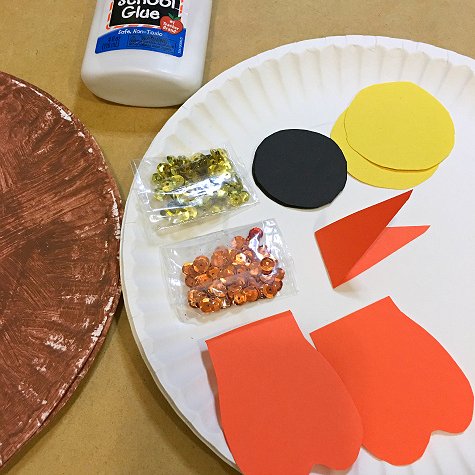
To make this project you will need to have paper plates ... construction paper ... brown paint ... paint brushes ... scissors ... glue ... and sequins (optional). We used regular sized paper plates but you can also use the smaller paper plates. Heavy duty paper plates are not recommended for this project.
We started by painting the paper plates brown (two plates per child) and let them dry. We cut one of the paper plates in half and glued them on each side of the whole paper plate to make the owl wings.
We started by painting the paper plates brown (two plates per child) and let them dry. We cut one of the paper plates in half and glued them on each side of the whole paper plate to make the owl wings.
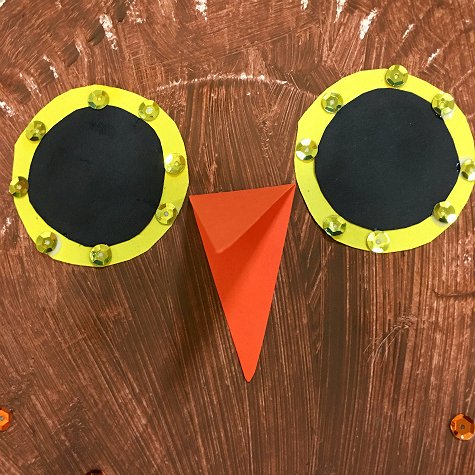
To make the eyes we cut circles out of yellow construction paper and glue them on. We then cut smaller circles out of black construction paper and glued them on top of the yellow circles. We put eight glue dots around each eye and pressed on sequins.
We made the owl's beak by folding a piece of orange construction paper and cutting a triangle shape out along the edge so that the beak would look like it was open.
We made the owl's beak by folding a piece of orange construction paper and cutting a triangle shape out along the edge so that the beak would look like it was open.
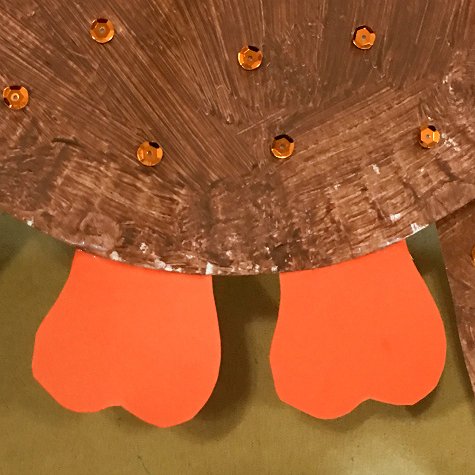
For the owl's feet we made heart shapes with a squared bottom and glued them on behind the paper plate. We then put small glue dots on body and wings and pressed sequins on. This was really a great project for developing scissor and fine motor skills.
You can see a video of this project below:
You can see a video of this project below:
