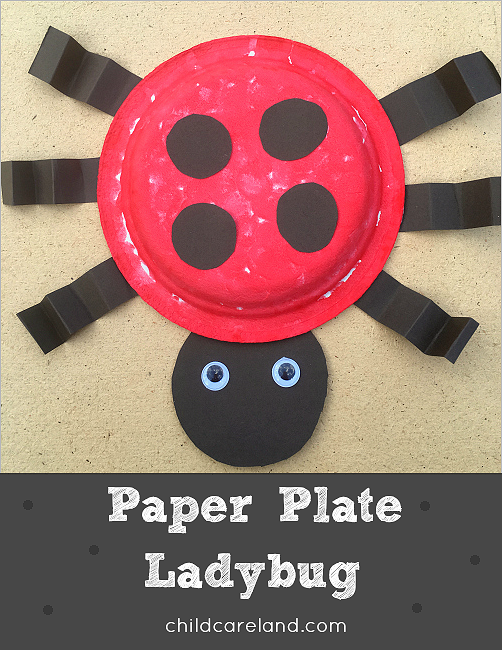
We made paper plate ladybugs this week and they turned out super cute. We did this project over a two day period to make sure we had enough time for the paint to dry.
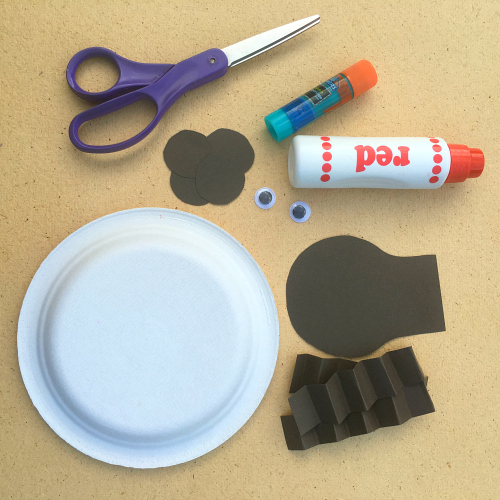
To make the lady you will need red paint ... glue ... scissors ... black construction paper ... wiggles eyes ... and paper plates. We used the thicker chinette brand for our paper plates.
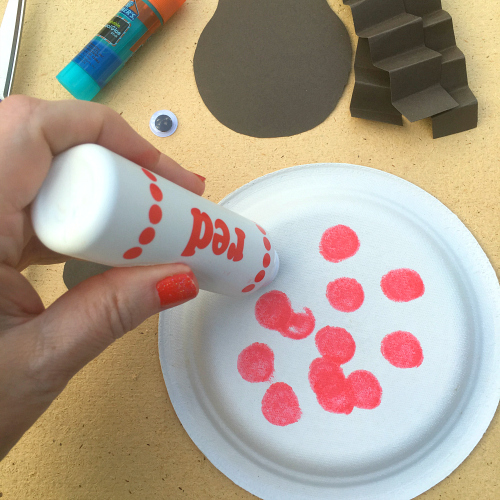
The first step is to paint the back of the paper plates red. You can do this by using a paint and paint brush or a paint dauber. After we painted the plates we let them dry for the rest of the day.
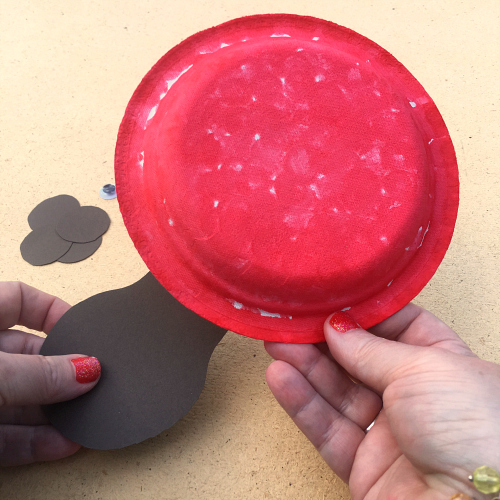
We cut head shapes out of black construction paper and glued them on to the bottom of the paper plates.
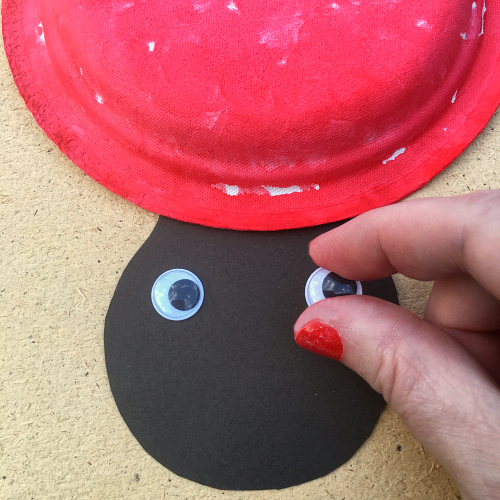
The next step was to glue wiggle eyes on the heads. If you do not have wiggle eyes a different color of construction paper such as yellow or blue cut into small circles will work fine.
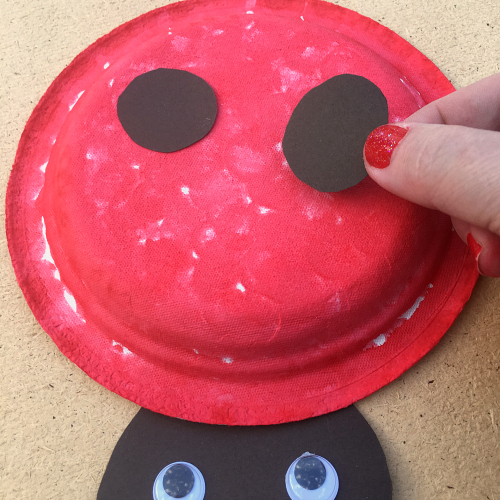
We cut circle shapes out of black construction paper and glue them on to the painted paper plate. You can put as many or as little spots on the ladybugs as you want.

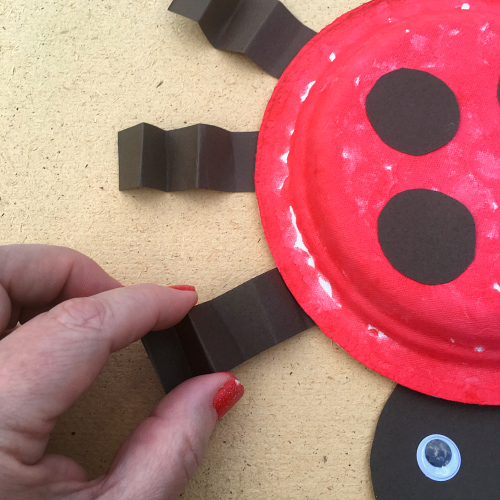
We cut black construction paper into 3-4 inch lengths and folded them back and forth (accordion style) for the legs. We glued three on each side of the paper plate.
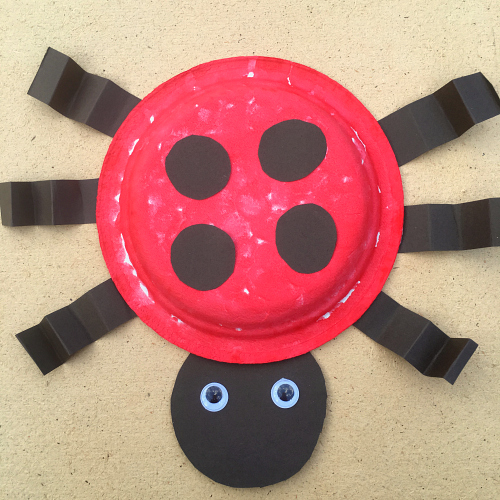
We hung our ladybugs up around the room. The children got lots of fine motor practice through the use of scissors and gluing pieces together.
You can see a video of this project below:
You can see a video of this project below: