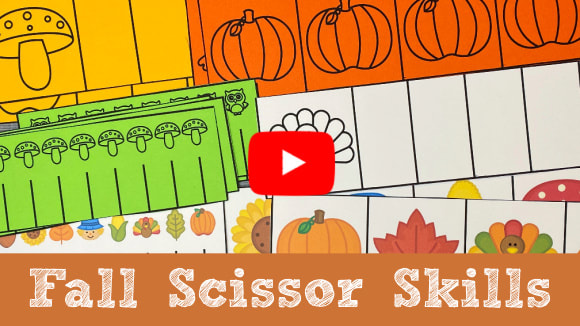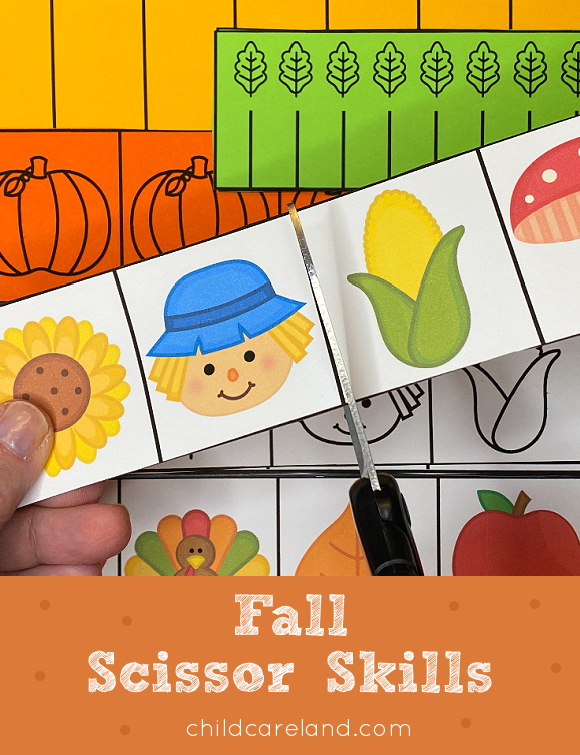
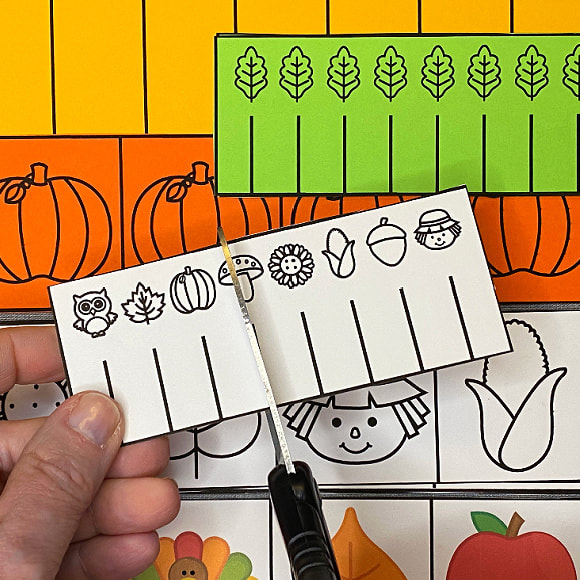
I made fall themed cutting strips to help work on beginning scissor skills and fine motor development. I printed the strips on cardstock paper and cut them out. I included both black and white as well as color patterns.
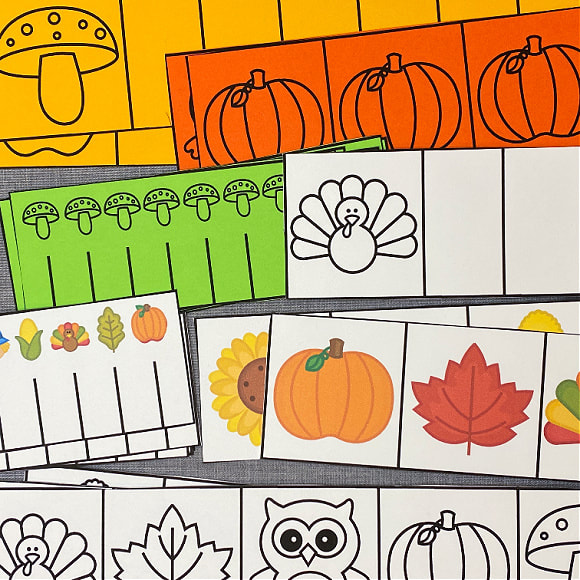
The black and white strips can be colored before cutting for extra fine motor work. They can also be printed on color paper to save on ink. There are three different kinds of cutting strips so you have a choice of which to use (I use them all).
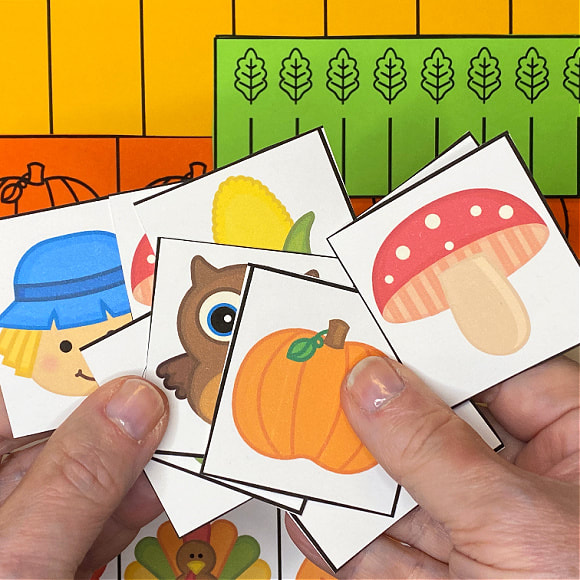
All of the cutting strips involve straight line cutting which I believe works best for children who are just starting to cut using guides. There is a set of strips that has five images on them and the children cut along the lines to separate those images. They can then do a sorting activity with them.
I have also included snip strips in which the children snip the line beneath images. You can see a video of this activity and download the patterns below.