|
Shaving Cream Writing
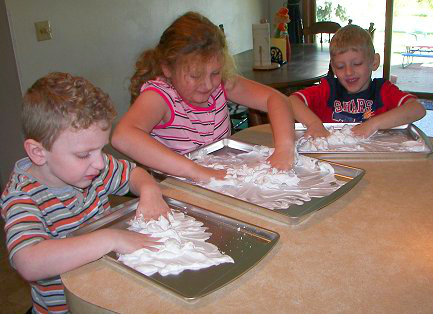
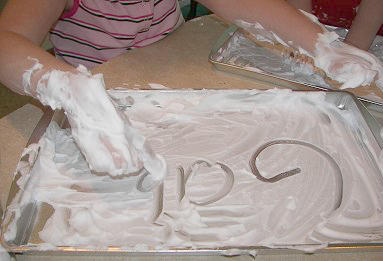
This activity is a little messy but clean up is really easy. For this activity I purchased cookie sheets and shaving cream from our local dollar store. Everyone had their own cookie sheet. I put a mound of shaving cream on each tray and let the children smooth the shaving cream all over the cookie sheet.
They love the feeling of the shaving cream (be sure to remind the children not to touch their face or mouth with their hands once they have shaving cream on them) and I let them free play with it for a while. Later the children each took turns calling out a letter ... number ... shape .... word ... that they wanted everyone to write in the shaving cream. Muffin Tin Sorting Trays
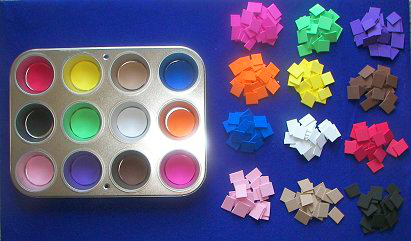
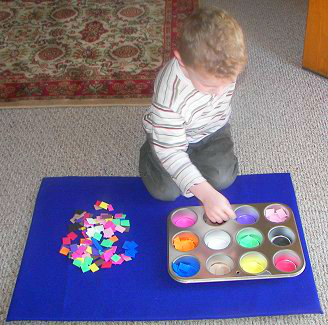
Muffin tins make great sorting trays. You can buy them in either six or twelve muffin cups per tray. For this activity I purchased foam sheets that came in a package of forty sheets with thirteen different colors. I found them in the craft section at Wal-Mart and the brand is Creative Hands. I purchased the foam sheets package for less than five dollars. I cut out a circle that was large enough to fill the bottom of each tray (a different color for each muffin space).
I then cut twent-five small squares of each color that was in the tray. The colored squares were mixed up and the children put the squares into the tin with the same matching color. After we were done the foam pieces were put into a zip lock bag. Other variations on the sorting tray include writing a number on the circle that goes into each muffin space and then the children would put the correct number of foam squares in each space. You could also write numbers on the foam squares and put them in the space with the same number on the circle. This could be done with letters and sight words as well. Mini Discovery Bottles
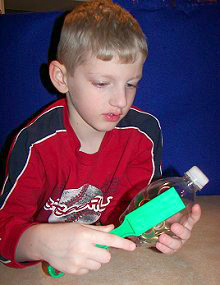
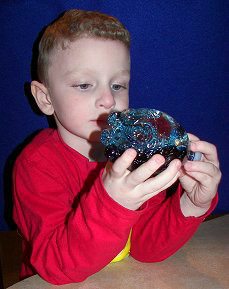
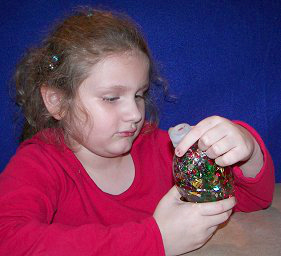
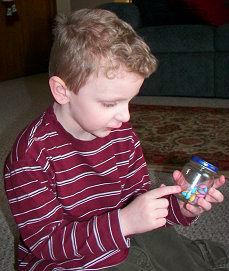
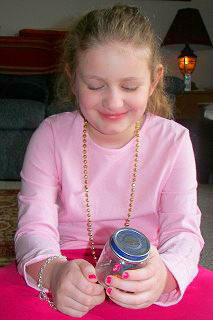
Discovery bottles are perfect for science centers ... free play ... and quite times. They are very easy to make and provide hands-on learning opportunities. I use the mini bottles because they are smaller and the children seem to handle them better than the larger ones.
To make the magnetic bottle I put magentic counters in the bottle (you can use any magnetic item that will fit into the bottle). The children use a magnetic wand around to move the magnetic pieces around inside the bottle. To make the ocean bottle I filled the bottle with half water and half baby oil. I then added 5 drops of blue food coloring. The water and oil stay separate in the bottle giving the liquid an ocean wave effect when the bottle is tipped sided to side.
To make the slow motion confetti bottle I filled the one fourth of the bottle with confetti and filled the rest of the bottle with clear corn syrup. The confetti pieces move very slowly through the bottle.
No matter what items you put in your discovery bottles you will need to seal the bottle caps so that children can not open them. I recommend using a hot glue (low setting).
Letter and Number Lacing Tags
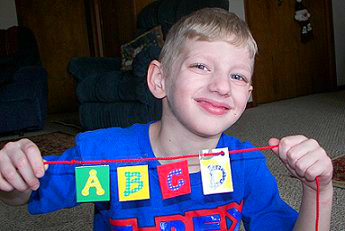
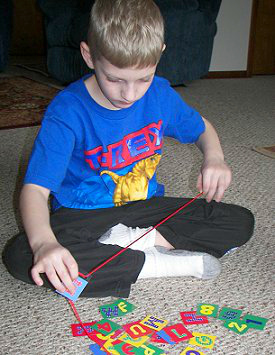
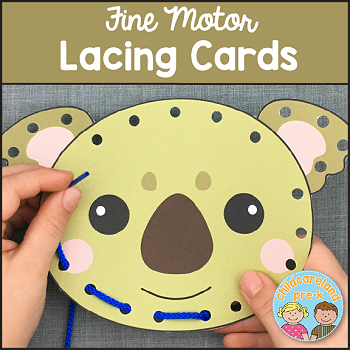
This is a great activity that is easy and inexpensive to make. These lacing tags are perfect for developing fine motor skills as well and letter and number identification and sequencing skills. You will need colored cardstock paper (any craft store sells the paper as well as Wal-Mart). You will also need letter and number stickers or paper shapes (these can be found in the scrapbooking section of any craft store ... they are letters and numbers that are already cut out that you will need to apply glue stick to).
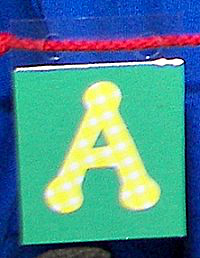
To make the tags you will need to cut the colored cardstock paper in to small squares or rectangles big enough for the letter or number stickers or cut outs to fit on. Put on one letter or number per card stock piece and laminate. Make sure you leave about 1/2 inch free above each tag when laminating... you will use this space to punch the holes in. Cut out tags leaving enough room (about 1/2 inch of clear lamination) ... punch two holes above each tag (see picture above). Children can lace the cards in any order they wish or they can lace them in alphabetical and numerical order. Musical Instruments
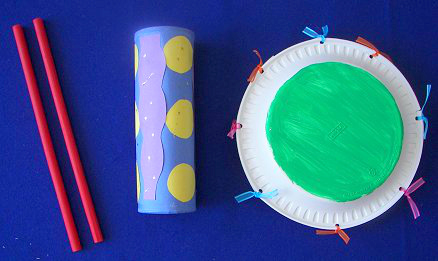
Music is an important part of any early childhood program. Making your own musical instruments can be fun and inexpensive. We made tambourines .... rain shakers ... and rhythm sticks to be used during certain music and movement activities as well as free play.
Rhythm Sticks: I purchased wood dowels from Wal-Mart for 94 cents each (you can get them in craft stores as well). The dowels are three feet in length and come in various circumferences .... I recommend the 1/2 inch size. I cut the dowels to 13 inches in length and sanded the ends so that they were smooth and then painted the dowels with various colors of acrylic paint. Tambourines: I purchased Hefty Serve 'n' Store Interlocking Large Plates (they are not paper but rather a plastic type material). A package of 16 plates cost around 2.36 at Wal-Mart. You will also need jingle bells (found in the craft section). I put six jingle bells in one of the plates and then put glue around the edge of the plate. I took another plate and turned it upside down and pressed it onto the other plate. The plates themselves fit together really nice. I let the glue dry and then carefully punched wholes around the edge of the plate and tied ribbons on to the plate. I also painted the plate top and bottom with acrylic paint. Rain Shakers: You will need empty pringles cans that have been wiped out with paper towels. You will also need rice and dried beans (I used a 12 bean soup mix bag that has different sizes of beans in it). I poured a little of the bean mix in the pringles can and then added a little rice. I replaced the cover of the can and held on to both ends while turning the can up an down and added more rice until the can made the sound that I wanted. I then cut a piece of tin foil a little bit larger than the opening of the can and glued it over the can opening and then glued the can cover over the tin foil. I covered the can in construction paper and decorated it. One of our favorite things to do with these instruments is to have the children choose which instrument they want to used and then sit down in a circle. I choose my instrument and bang or shake a certain number of times and have the children repeat what I just did. We do this as a group as well as with the children having individual turns in the circle. The children also like to create their own band and march around the room playing their instruments. Counting Jars
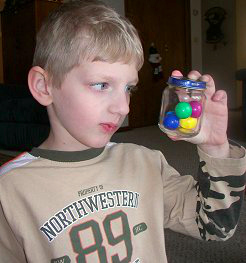
Counting Jars are a great way to build math skills. These again are very easy and inexpensive to make. You will need empty clean baby food jars (I used the Gerber jars with the toddler hot dogs with them because they had less of a design on them.)
You can fill the jars with any interesting objects for the children to count. Some of the things we use are colored paper clips .... candy .... marbles ... foam squares ... beads ... buttons ... cereal ... dried beans ... marbles etc. Using different colors of the same object also helps children distinguish between the different number of objects in the jar. You can have the jars sitting on an interest table for children to explore independently or you can work with them on counting the objects. You can create graphs for the jars ... you can have the children write the correct number of objects in each jar ... you can have the children arrange the jars from the least amount of objects to the most amount of objects etc. There are many things that counting jars can be used for. Use your imagination and have fun!! Playdough Alphabet Cards
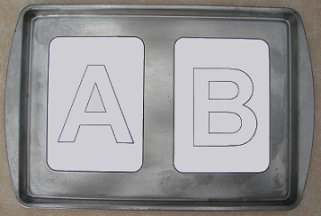
These play dough alphabet cards are great for building letter recognition and fine motor skills development. We put the alphabet cards on a cookie sheet and let the children fill the letters in with play dough any way they wish. Most of the children make balls or "snakes" out of the play dough to put inside the letters. Click here to download the play dough alphabet cards.
Photograph Fun
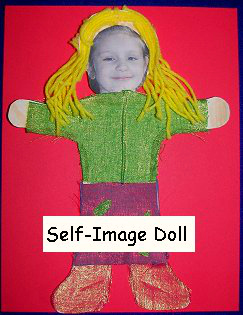
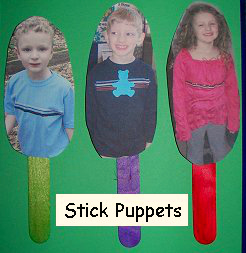
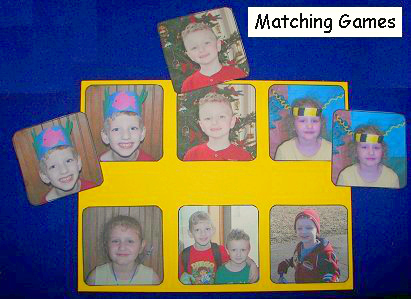
Children love looking at photgraphs of themselves and using photos in the early childhood environment can help build self-esteem and a sense of community. Three of our most popular photograph activities include self-image dolls ... stick puppets ... and matching games.
Self-Image Dolls: These are a lot of fun for the children to make. You will need cardstock paper, a photo of each child's face, fabric, yarn, glue and scissors. I took a sheet of cardstock and cut out a basic body shape for each child. The children then decorate the body by cutting fabric out and gluing it on the body for clothes. Children also glue their face on the head and add yarn for hair. We have hung these up around the room and on the bulletin board. These are also great for the front of the classroom door. Stick Puppets: You will need a photo of each child, craft sticks, glue and scissors. Cut out photos of children and glue on craft sticks. We use these for puppet shows, attendance, and center markers. Matching Games: This is a very popular activity. You will need two copies of each photo. We glue one set of photos on a file folder or mat. Children match the photos. |
childcareland.com

