penguin pattern
You can see a video of this activity by clicking below:
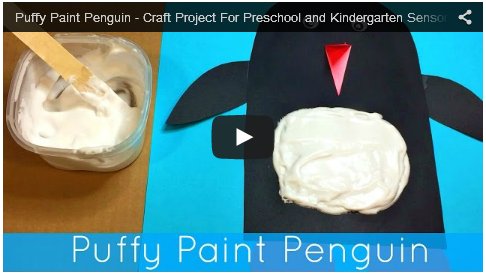
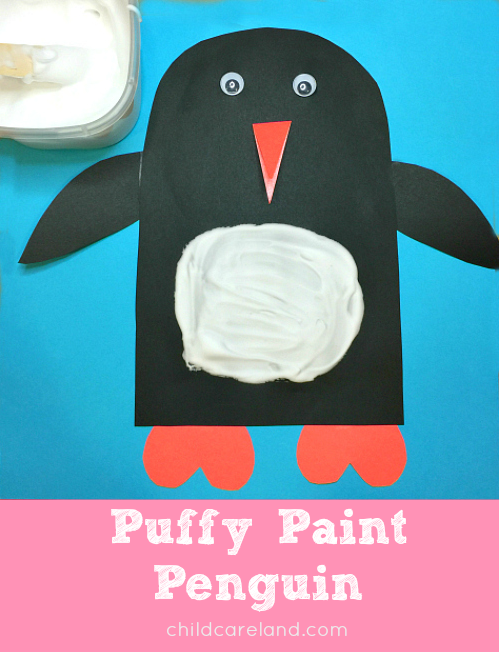
We made puffy paint penguins after circle time today. It was a great project for scissor skills ... sensory and fine motor development. We used black and orange cardstock paper to make the the penguins. We free cut the penguin shapes but I have included patterns that you can trace around on the cardstock paper.
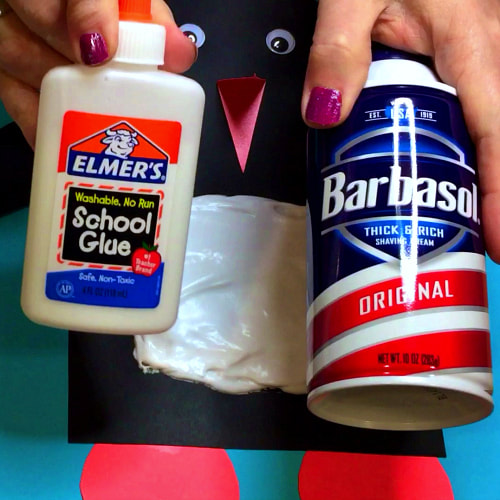
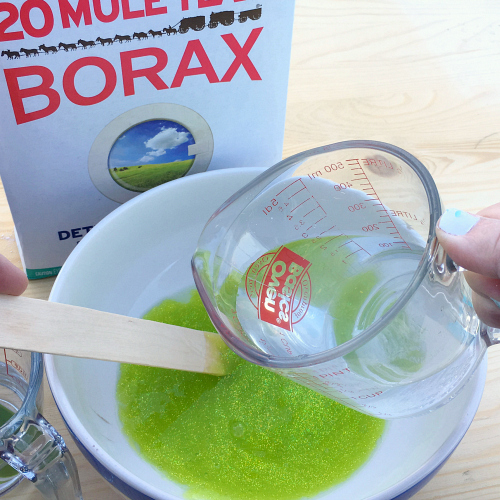
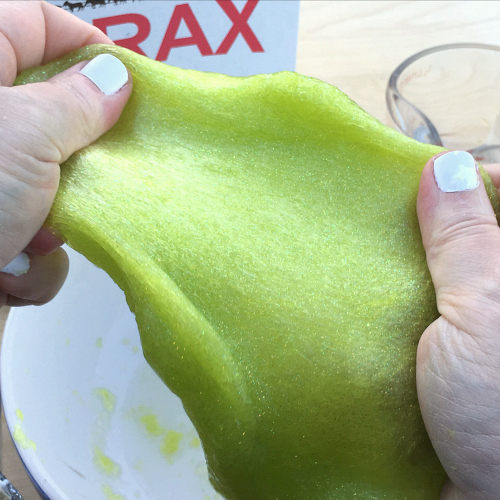
The next step was to make the puffy paint which was really easy. The children mixed 1 cup of shaving cream and 1/2 cup of white glue together with a craft stick. The puffy paint should be like a thick marshmallow topping ... if it is not you can add more glue.
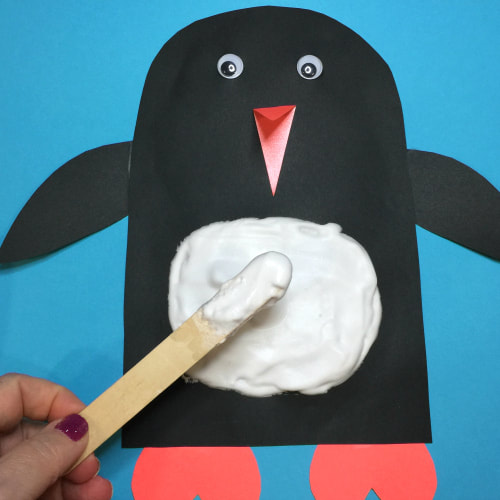
The children applied the puffy paint to the penguins using either their fingers or craft sticks. The penguins took a while to dry because of the thickness of the paint.
penguin pattern You can see a video of this activity by clicking below:
6 Comments
We made jello paint and the children really loved it. It was super easy to do and it smelled so good!!
You will need: jello (any brand) warm water containers or muffin tin something to stir with (we used craft sticks)
I started by putting about a third of the package of jello into small container. I then put in enough warm water just to cover the top of the jello. Next I stirred the water and jello together and repeated with the other colors.
The paint mixture will be granular which will add a nice texture to the painting. It will take a few hours to dry but when it does it has a really nice shine to it. I used regular jello and not the sugar-free kind.
The mixture does thicken over time (hours) but you can always add more warm water or even make a new batch. You can see a video of how I made my jello paint by clicking below:
Glitter slime is great for sensory play but I have been putting off making it for my early learning environment because I could never get the right consistency for the mixture. It always turned out hard and broke when being stretched. After a lot of trial and error I found a recipe that works well.
You will need to have:
glitter glue (I purchased mine from walmart) plain water borax mixture (1tsp of borax mixed with 1 cup of water)
Start by emptying the entire bottle of glitter glue to a bowl. Next add 1 tablespoon of water to the glue and stir.
Slowly pour in a little of the borax mixture and stir everything together. Keep adding small amounts of the mixture until you are able to form a soft ball shape.
Pick the glitter slime up and begin kneading ... pulling and stretching until it is the right consistency. If it is too thick add a little plain water ... if it is too runny at a little of the borax mixture.
You want the glitter slime to be able to be very thin when stretch. You can store the glitter slime in air tight containers. If it becomes too dry or too wet you can always add water or borax solution (save the left over that you made). You can see a video of how I made glitter slime below:
We have used water beads for a variety of activities and the children really enjoyed them. I recently found a source for jumbo water beads and decided to give them a try to see what they were like.
I purchased them from etsy but the same seller also sells on ebay. The water beads were around 7.00 dollars for a package of 24 but the seller included a few extra in case of damage during shipping.
The jumbo beads start out the same size and the finished size of the original water beads. Because they are small objects you will want to use very close supervision for children under five.
I put the beads in a bucket of room temperature water and made sure the beads always had enough water to cover them. The instructions that came with the beads were not the clearest as to the specific time frame it would take for the water beads to reach full size.
After one hour of soaking the beads in water they developed the look and texture of raspberries. I was surprised how much they had grown in such a short time period.
After fours hours in water the beads had grown larger and developed smooth ridges. The outer area of the beads started to become transparent while the center remained solid.
After twenty-four hours the beads had grown very large but still had some dimples on them which indicated that there was still room for them to grow. The instructions stated the water beads could take 2-4 days to reach full size.
After forty-eight hours the beads had reached their full size and and we did sorting of colors and sizes as well as counting activities. The children also free
played with them in the water which was for a sensory play activity. We observed the changes together and the children could pick the beads up while observing but I always made sure that I was there to supervise. After the beads reached there full-size they are pretty hard to break by just squeezing them. You can see a video of the jumbo water beads below: We do a lot of learning activities outside when weather permits and this week we worked with colored ice balls. They were easy to make ... the children loved them ... and they looked awesome in the snow!! We did counting and sorting for specific activities and then the children took the ice balls and played with them in the snow. They made shapes ... buried them ... lined them up and really had an great time with them. I used liquid water color instead of food coloring for the ice balls. The ice balls will stain children's hands but the water color paint will wash out easier than food coloring. Because we were outside the children had mittens and gloves on for most of the time they were working with the ice balls. I also had special scooper tools that were perfect for picking up the ice balls. I purchased a special silicone ice ball mold and filled it up with colored water that I had mixed together in a squeeze bottle. I didn't put a specific amount of the liquid paint in ... I just put enough in until I liked the color of the water. The mold makes four ice balls of the same color at a time and it takes between four to five hours for them to freeze. One they are frozen I removed them from the mold and placed them in zip lock bags with each color having their own bag. When we were ready to go outside I put all of the ice balls in clear plastic bowls (I had three ice centers set up) and added a special scoop that that is from a fine motor skills tool kit that I really love. The children used clear plastic cups as well as muffin tins to sort and count the ice balls. You can see a video of this activity by clicking below:
We love working with playdough and today the children made pladough ice cream cones using a playdough mat I created for this activity. They could use any color of playdough they wanted and they molded and pressed the playdough into a ice cream scoop shape and placed it on the mat. They then took pony beads (which we also love) and pressed them into the ice cream cone.
You can see a video of this activity here or by clicking below: |
Search My SiteArchives
March 2021
Categories
All
|